qPCR: The Very Basics

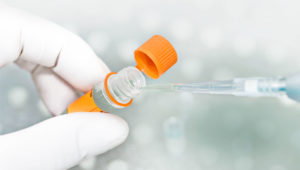
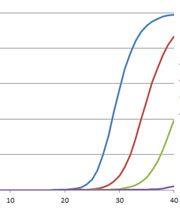
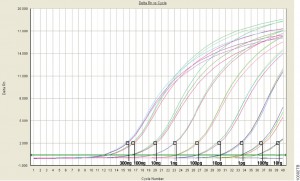
Real-Time (or quantitative, qPCR) monitors PCR amplification as it happens and allows you to measure starting material in your reaction.
qPCR monitors amplification in real and allows you to measure starting material.

For those of us well versed in traditional, end-point PCR, wrapping our minds and methods around real-time or quantitative (qPCR) can be challenging. Here at Promega Connections, we are beginning a series of blogs designed to explain how qPCR works, things to consider when setting up and performing qPCR experiments, and what to look for in your results.

First, to get our bearings, let’s contrast traditional end-point PCR with qPCR.

End-Point PCRqPCR
Visualizes by agarose gel the amplified product AFTER it is produced (the end-point)Visualizes amplification as it happens (in real time) via a detection instrument
Does not precisely measure the starting DNA or RNAMeasures how many copies of DNA or RNA you started with (quantitative = qPCR)
Less expensive; no special instruments requiredMore expensive; requires special instrumentation
Basic molecular biology techniqueRequires slightly more technical prowess

Quantitative PCR (qPCR) can be used to answer the same experimental questions as traditional end-point PCR: Detecting polymorphisms in DNA, amplifying low-abundance sequences for cloning or analysis, pathogen detection and others. However, the ability to observe amplification in real-time and detect the number of copies in the starting material can quantitate gene expression, measure DNA damage, and quantitate viral load in a sample and other applications.

Anytime that you are performing a reaction where something is copied over and over in an exponential fashion, contaminants are just as likely to be copied as the desired input. Quantitative PCR is subject to the same contamination concerns as end-point PCR, but those concerns are magnified because the technique is so sensitive. Avoiding contamination is paramount for generating qPCR results that you can trust.

  1. Use aerosol-resistant pipette tips, and have designated pipettors and tips for pre- and post-amplification steps.
  2. Wear gloves and change them frequently.
  3. Have designated areas for pre- and post-amplification work.
  4. Use reaction “master mixes” to minimize variability. A master mix is a ready-to-use mixture of your reaction components (excluding primers and sample) that you create for multiple reactions. Because you are pipetting larger volumes to make the reaction master mix, and all of your reactions are getting their components from the same master mix, you are reducing variability from reaction to reaction.
  5. Dispense your primers into aliquots to minimize freeze-thaw cycles and the opportunity to introduce contaminants into a primer stock.

These are very basic tips that are common to both end-point and qPCR, but if you get these right, you are off to a good start no matter what your experimental goals are.

If you are looking for more information regarding qPCR, watch this supplementary video below.


We’re committed to supporting scientists who are using molecular biology to make a difference. Learn more about our qPCR Grant program.  


Are you looking for more in-depth information about qPCR? Check out our qPCR and RT-qPCR Guide!


Related Posts

Optimizing PCR: One Scientist’s Not So Fond Memories

primer_tubesThe first time I performed PCR was in 1992. I was finishing my Bachelors in Genetics and had an independent study project in a population genetics laboratory. My task was to try using a new technique, RAPD PCR, to distinguish clonal populations of the sea anemone, Metridium senile. These creatures can reproduce both sexually and asexually, which can make population genetics studies challenging. My professor was looking for a relatively simple method to identify individuals who were genetically identical (i.e., potential clones).

PCR was still in its infancy. No one in my lab had ever tried it before, and the department had one thermal cycler, which was located in a building across the street. We had a paper describing RAPD PCR for population work, so we ordered primers and Taq DNA polymerase and set about grinding up bits of frozen sea anemone to isolate the DNA. [The grinding process had to be done using a mortar and pestle seated in a bath of liquid nitrogen because the tissue had to remain frozen. If it thawed it became a disgusting mass of goo that was useless—but that is a topic for a different blog.] Since I had never done any of the procedures before, my professor and I assembled the first set of reactions together. When we ran our results on a gel, we had all sorts of bands—just what he was hoping to see. Unfortunately, we realized that we had added 10X more Taq DNA polymerase than we should have used. I repeated the amplification with the correct amount of Taq polymerase, and I saw nothing. Continue reading “Optimizing PCR: One Scientist’s Not So Fond Memories”

A Quick Method for A Tailing PCR Products

PCR experiment and products, pipette tip, tube in researcher's hand.
PCR is a common technique used in research labs to amplify DNA.

Some thermostable DNA polymerases, including Taq, add a single nucleotide base extension to the 3′ end of amplified DNA fragments. These polymerases usually add an adenine, leaving an “A” overhang. There are several approaches to overcome the cloning difficulties presented by the presence of A overhangs on PCR products. One method involves treating the product with Klenow to create a blunt-ended fragment for subcloning. Another choice is to add restriction sites to the ends of your PCR fragments. You can do this by incorporating the desired restriction sites into the PCR primers. After amplification, the PCR product is digested and subcloned into the cloning vector. Take care when using this method, as not all restriction enzymes efficiently cleave at the ends of DNA fragments, and you may not be able to use every restriction enzyme you desire. There is some useful information about cutting with restriction sites close to the end of linear fragments in the Restriction Enzyme Resource Guide. Also, some restriction enzymes require extra bases outside the recognition site, adding further expense to the PCR primers as well as risk of priming to unrelated sequences in the genome.

Continue reading “A Quick Method for A Tailing PCR Products”

How Do I Choose the Right GoTaq® Product to Suit My Needs for EndPoint PCR?

We offer a wide array of GoTaq® DNA Polymerases, Buffers and Master Mixes, so we frequently answer questions about which product would best suit a researcher’s needs. On the Taq Polymerase Page, you can filter the products by clicking the categories on the left hand side of the page to narrow down your search. Here are some guidelines to help you select the match that will best suit your PCR application. Continue reading “How Do I Choose the Right GoTaq® Product to Suit My Needs for EndPoint PCR?”

Top 10 Tips to Improve Your qPCR or RT-qPCR Assays

headache

Scientists have had a love-hate relationship with PCR amplification for decades. Real-time or quantitative PCR (qPCR) can be an amazingly powerful tool, but just like traditional PCR, it can be quite frustrating. There are several parameters that can influence the success of your PCR assay. We’ve highlighted ten things to consider when trying to improve your qPCR results.

Continue reading “Top 10 Tips to Improve Your qPCR or RT-qPCR Assays”

PCR Cloning: Answers to Some Frequently Asked Questions

eh1Q: What is the easiest way to clone PCR Products?

A: The simplest way to clone PCR Products is to amplify the product using thermostable polymerases such as Taq, Tfl or Tth polymerase. These polymerases add a single deoxyadenosine to the 3´-end of the amplified products (3´-end overhang), and can be cloned directly into a linearized T-vector.

Q: What if my DNA polymerase has 3´ to 5´ exonuclease activity (i.e., proofreading activity) that removes the 3´-end overhang?

A: To clone PCR products that have been amplified with a polymerase that have proof reading activity into a T-vector, you will need to perform an A-tailing step using Taq DNA polymerase and dATP. Blunt ended restriction digest fragments can also be A-tailed using this method. The method below uses GoTaq Flexi DNA Polymerase (comes with a Mg-free reaction buffer), but any Taq DNA polymerase can be used.

Set up the following reaction in a thin-walled PCR tube:

1–4µl purified blunt-ended DNA fragment (from PCR or restriction enzyme digestion)
2µl of 5X GoTaq Reaction Buffer (Colorless or Green)
2µl of 1mM dATP (0.2mM final concentration)
1µl GoTaq Flexi DNA Polymerase (5u/µl)
0.6µl of 25mM MgCl2 (1.5mM final concentration)
Nuclease-free water to a final volume of 10µl

Incubate at 70°C for 15–30 minutes in a water bath or thermal cycler.

Q: What is a T-vector, and why are they used for cloning PCR products?

A: T vectors are linearized plasmids that have been treated to add T overhangs to match the A overhangs of the PCR product. PCR fragments that contain an A overhang can be directly ligated to these T-tailed plasmid vectors with no need for further enzymatic treatment other than the action of T4 DNA ligase.

For a complete PCR Cloning protocol, Visit the Cloning Chapter of the Promega Protocols and Applications Guide.

Dealing with PCR Inhibitors

Inhibition

The polymerase chain reaction (PCR) has revolutionized modern biology as a quick and easy way to generate amazing amounts of genomic data. However, when PCR doesn’t work, it can be frustrating. At these times, PCR and reverse transcription PCR (RT-PCR) inhibitors seem to be everywhere: They lie dormant in your starting material and can co-purify with the template of interest, and they can be introduced during sample handling or reaction setup. The effects of these inhibitors can range from partial inhibition and underestimation of the target nucleic acid amount to complete amplification failure. What is a scientist to do?

Continue reading “Dealing with PCR Inhibitors”

Methods for Quantitating Your Nucleic Acid Sample

Nucleic acid quanitation webinar

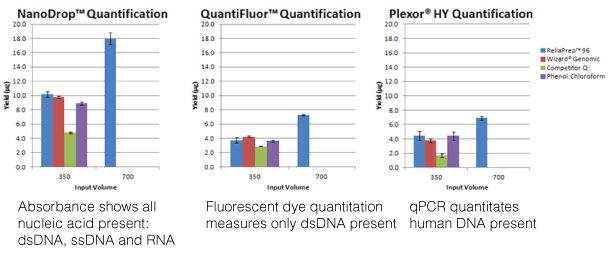
For most molecular biology applications, knowing the amount of nucleic acid present in your purified sample is important. However, one quantitation method might serve better than another, depending on your situation, or you may need to weigh the benefits of a second method to assess the information from the first. Our webinar “To NanoDrop® or Not to NanoDrop®: Choosing the Most Appropriate Method for Nucleic Acid Quantitation” given by Doug Wieczorek, one of our Applications Scientists, discussed three methods for quantitating nucleic acid and outlined their strengths and weaknesses.

Continue reading “Methods for Quantitating Your Nucleic Acid Sample”

Top Ten Tips for Successful PCR

We decided to revisit a popular blog from our Promega Connections past for those of you in the amplification world. Enjoy:

magnesium-31

    • Modify reaction buffer composition to adjust pH and salt concentration.
    • Titrate the amount of DNA polymerase.
    • Add PCR enhancers such as BSA, betaine, DMSO, nonionic detergents, formamide or (NH4)2SO4.
    • Switch to hot-start PCR.
    • Optimize cycle number and cycling parameters, including denaturation and extension times.
    • Choose PCR primer sequences wisely.
    • Determine optimal DNA template quantity.
    • Clean up your DNA template to remove PCR inhibitors.
    • Determine the optimal annealing temperature of your PCR primer pair.

[Drum roll please]…and the  most important thing you can do to improve your PCR results is:

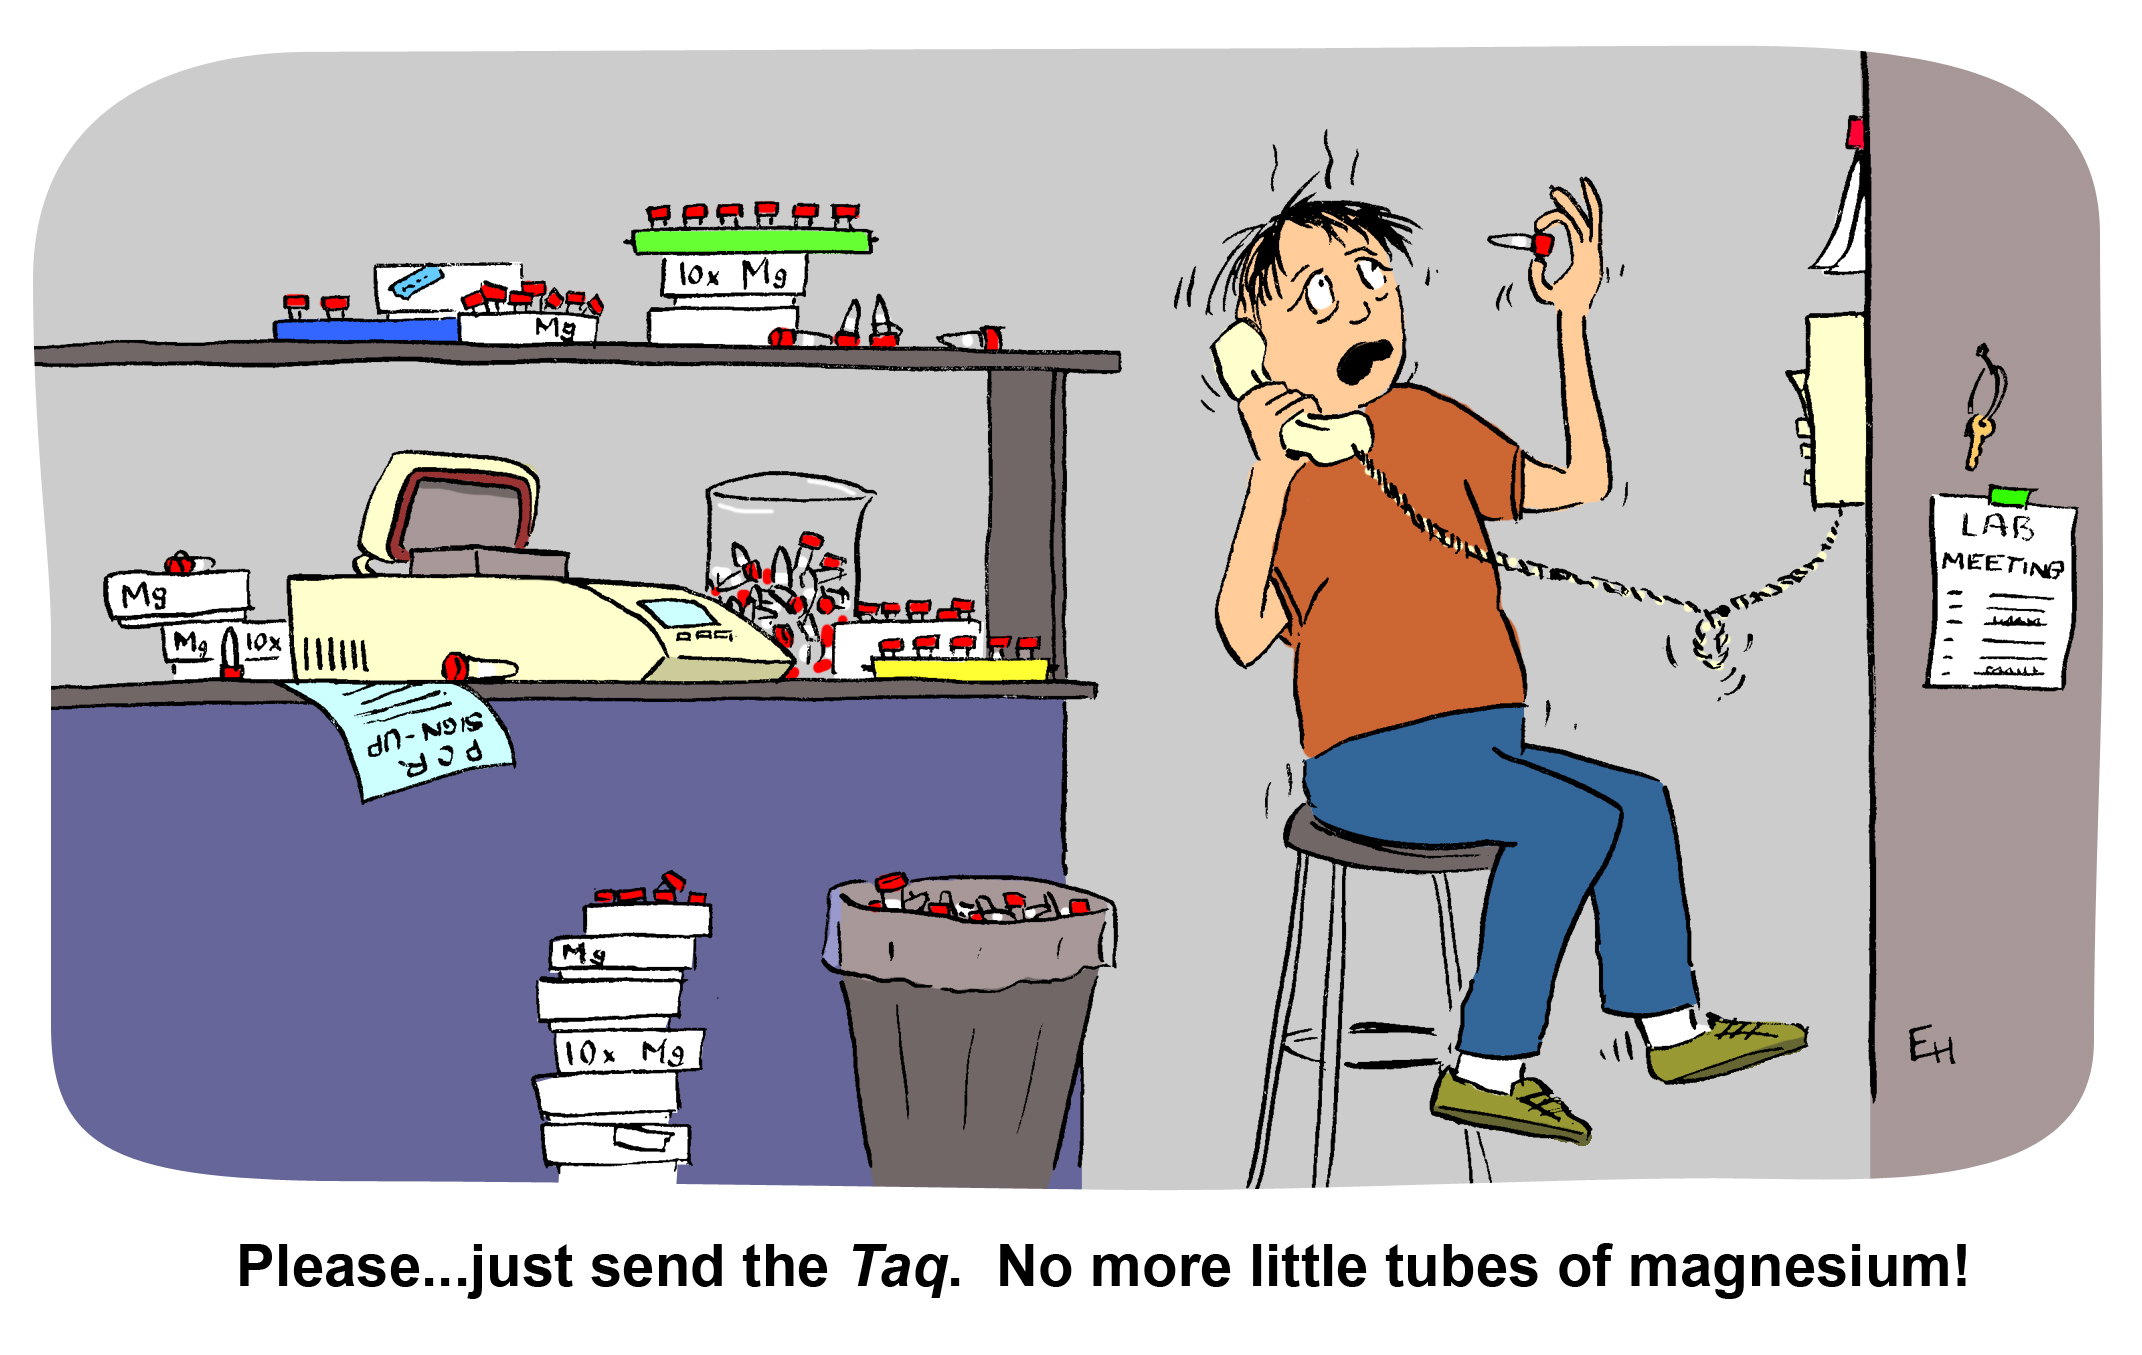
  • Titrate the magnesium concentration.

Choosing the Right Reverse Transcriptase for Your Project

There are a lot of choices when it comes to reverse transcriptases.  Choosing the correct one for your cDNA synthesis and RT-PCR project is important.    Here are a few questions that will lead you to right RT for your application: Continue reading “Choosing the Right Reverse Transcriptase for Your Project”